
Raspberry Pi 4 HDMI: A Closer Look
The Raspberry Pi 4 is a versatile and powerful single-board computer that has gained popularity for its compact size and impressive capabilities. One of the key features of the Raspberry Pi 4 is its HDMI output, which allows users to connect the device to a monitor or TV for display.
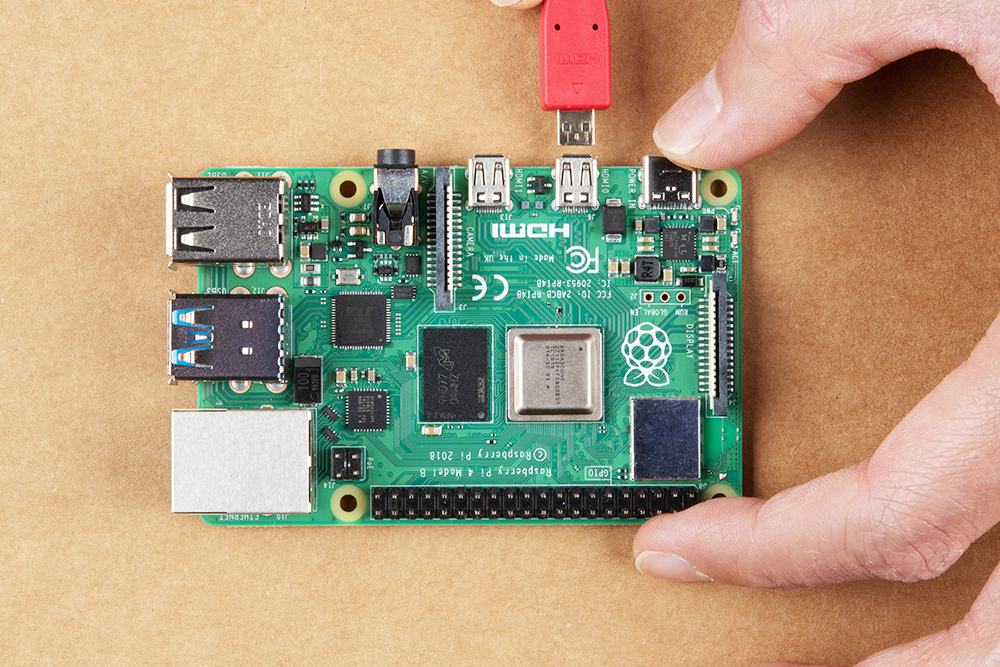
The Raspberry Pi 4 comes equipped with two micro HDMI ports, which support up to dual 4K resolution displays. This means that users can enjoy crisp and clear visuals when using the Raspberry Pi 4 for various applications, such as gaming, media streaming, programming, and more.
Connecting the Raspberry Pi 4 to a display via HDMI is simple and straightforward. Users can use a micro HDMI to HDMI cable to connect the Raspberry Pi 4 to their monitor or TV. Once connected, users can configure the display settings on the Raspberry Pi OS to adjust resolution, refresh rate, and other display preferences.
With its powerful GPU and improved video playback capabilities, the Raspberry Pi 4 offers an enhanced multimedia experience when connected to a high-definition display via HDMI. Whether you are using the Raspberry Pi 4 for work or play, the HDMI output ensures that you can enjoy sharp and vibrant visuals on your screen.
In conclusion, the HDMI output on the Raspberry Pi 4 is a valuable feature that enhances the overall user experience and opens up a world of possibilities for creative projects and applications. Whether you are a beginner or an experienced user, the versatility of the Raspberry Pi 4 combined with its HDMI output makes it an ideal choice for various computing needs.
Top 5 FAQs About Using HDMI with Raspberry Pi 4: Setup, Resolution, Multiple Displays, Cables, and Display Settings
- How do I connect my Raspberry Pi 4 to a monitor or TV using HDMI?
- What is the maximum resolution supported by the HDMI output on Raspberry Pi 4?
- Can I connect multiple displays to the Raspberry Pi 4 via HDMI?
- Do I need a special cable to connect my Raspberry Pi 4 to a monitor or TV via HDMI?
- How do I adjust display settings when using the HDMI output on Raspberry Pi 4?
How do I connect my Raspberry Pi 4 to a monitor or TV using HDMI?
To connect your Raspberry Pi 4 to a monitor or TV using HDMI, you will need a micro HDMI to HDMI cable. Simply plug one end of the cable into the micro HDMI port on your Raspberry Pi 4 and the other end into an available HDMI port on your monitor or TV. Once connected, power up your Raspberry Pi 4 and turn on your display device. You may need to select the correct input source on your monitor or TV to see the Raspberry Pi 4 output. Additionally, you can adjust display settings on the Raspberry Pi OS to customize resolution and other preferences for optimal viewing experience. By following these simple steps, you can easily set up and enjoy using your Raspberry Pi 4 with a monitor or TV via HDMI connection.
What is the maximum resolution supported by the HDMI output on Raspberry Pi 4?
The maximum resolution supported by the HDMI output on the Raspberry Pi 4 is dual 4K resolution. This means that users can connect their Raspberry Pi 4 to a monitor or TV and enjoy stunning visuals with ultra-high-definition clarity. The dual 4K resolution support ensures that users can make the most of their Raspberry Pi 4 for tasks such as gaming, media playback, programming, and more, all displayed in crisp detail on compatible screens.
Can I connect multiple displays to the Raspberry Pi 4 via HDMI?
One frequently asked question regarding the Raspberry Pi 4 HDMI capabilities is whether it supports connecting multiple displays via HDMI. The Raspberry Pi 4 is equipped with two micro HDMI ports, allowing users to connect up to two displays simultaneously. This feature enables users to set up dual monitor configurations or mirror displays for various applications. By leveraging the dual HDMI output on the Raspberry Pi 4, users can enhance productivity, multitask efficiently, or create immersive digital experiences across multiple screens.
Do I need a special cable to connect my Raspberry Pi 4 to a monitor or TV via HDMI?
When connecting your Raspberry Pi 4 to a monitor or TV via HDMI, you do not necessarily need a special cable. A standard micro HDMI to HDMI cable will suffice for most users. This common cable type allows for a seamless connection between your Raspberry Pi 4 and the display device, enabling you to enjoy high-quality visuals without the need for any specialized equipment. Simply plug one end of the cable into the micro HDMI port on your Raspberry Pi 4 and the other end into the HDMI port on your monitor or TV, and you should be ready to go.
How do I adjust display settings when using the HDMI output on Raspberry Pi 4?
When using the HDMI output on the Raspberry Pi 4, adjusting display settings is a straightforward process. To customize the display settings, users can navigate to the Raspberry Pi OS configuration menu and select the “Display” option. From there, users can adjust parameters such as resolution, refresh rate, overscan settings, and more to ensure optimal display quality on their connected monitor or TV. By fine-tuning these settings, users can tailor their viewing experience to suit their preferences and make the most out of the Raspberry Pi 4’s HDMI output capabilities.